Prepare audio files for Unity: editing and import settings checklist
Trim, fade, level and convert your sounds, then choose load type, compression and sample rate per clip. A practical checklist for game audio in Unity.
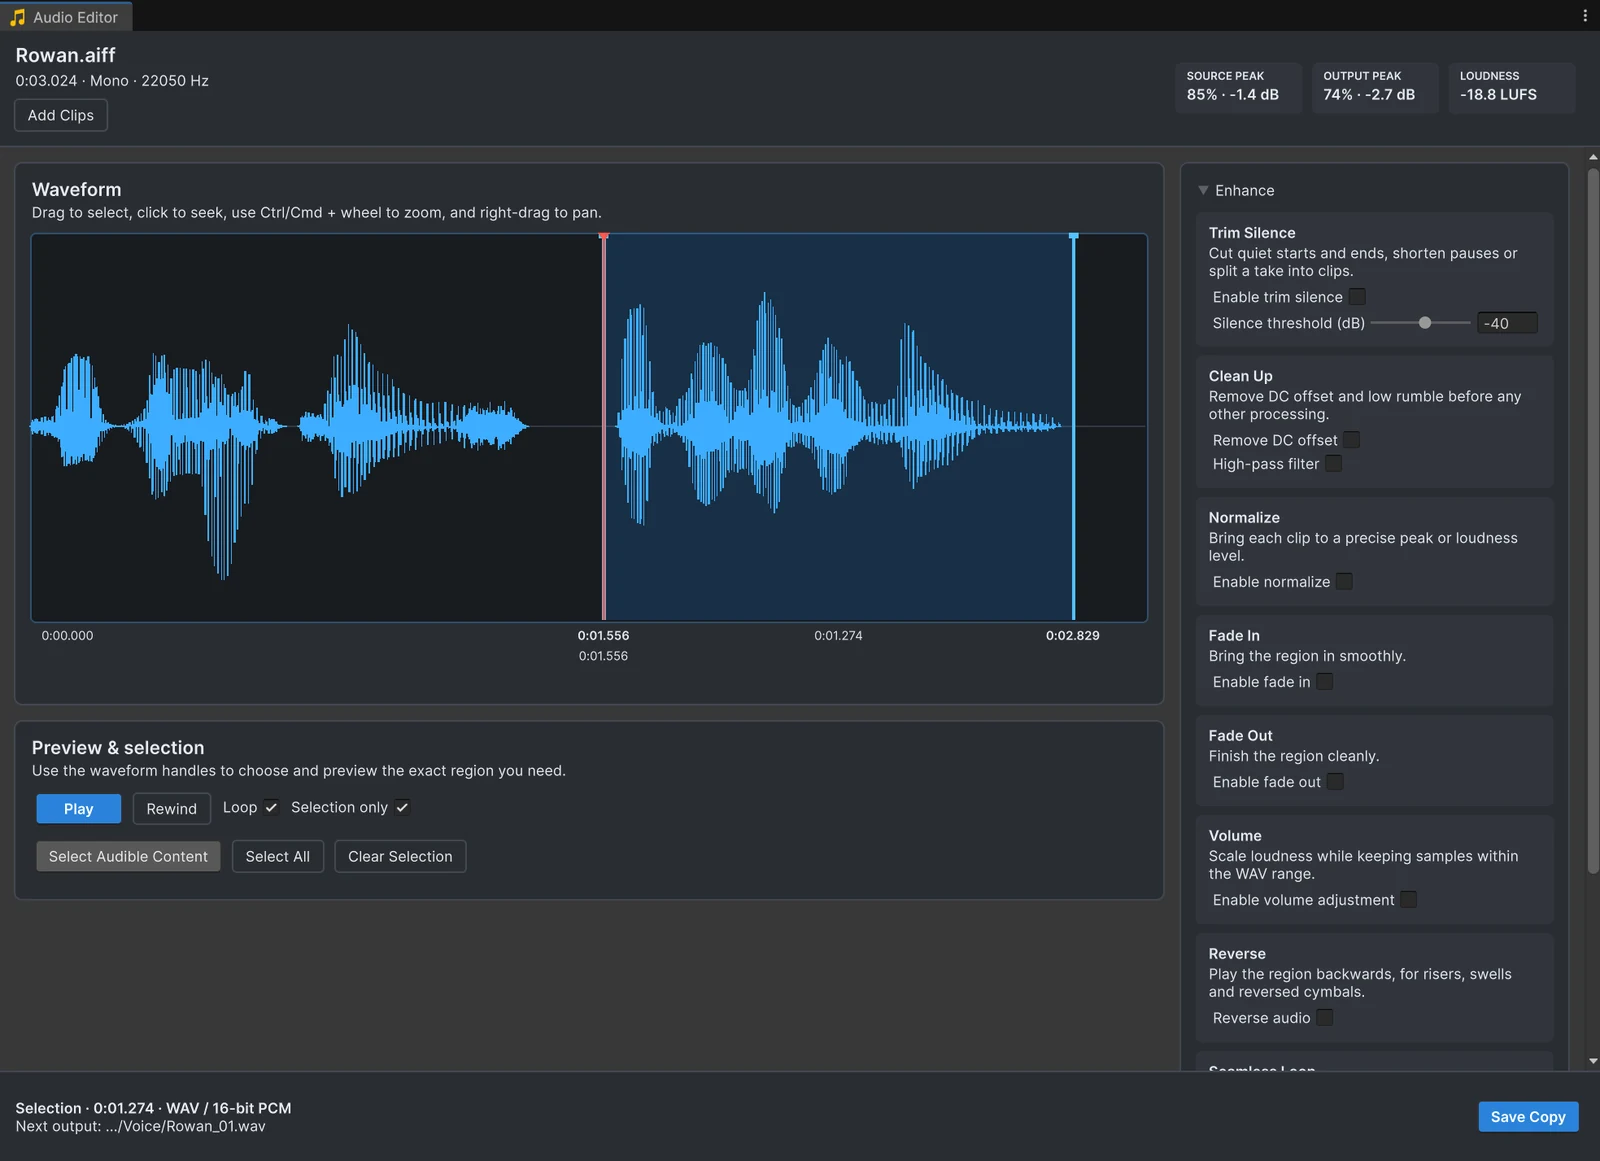
Most advice about audio in Unity starts with the import settings. They matter, but they cannot fix a file that starts with half a second of silence or ends with a click. This checklist covers both halves: what to do to the file, and how to import it.
Part 1: the file
Trim the silence
Sounds should start on their first audible sample and end when they have faded out. Silence at the start makes sounds play late; silence at the end breaks loops. In Unity, open the clips or their folder with Edit Audio and enable Trim Silence in Audio Tools to cut the dead air at both ends, then save trimmed copies. See removing silence.
Fade the cuts
Every hand-made cut that does not land at zero can click. A fade of a few milliseconds at each cut removes the click without changing the sound. Longer fade-outs belong at the end of music stingers and ambience loops. See fades.
Set the level
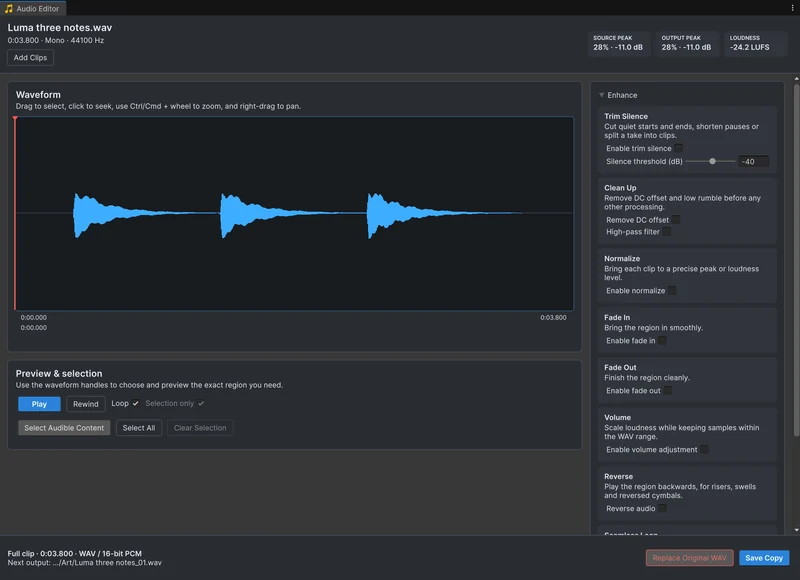
Quiet recordings and over-hot exports make mixing harder later. Bring each clip to a sensible peak with headroom, and match the perceived loudness of related sounds, such as all footsteps or all UI clicks. Audio Tools normalizes to a peak or to a loudness in LUFS, for a whole group in one pass. Peak level and loudness are different things; the article on peak and loudness normalization explains when each one helps.
Loop what loops
Ambience, engines and music beds need a loop point without a click or gap. Trim the silence first, then crossfade the end into the start; see seamless loops.
Choose a source format
Unity re-encodes every audio file on import, so the format of the source file mostly affects quality and repository size. WAV or AIFF is the safest source: lossless, sample-accurate and free of MP3 encoder padding. OGG is fine for long files. Avoid MP3 sources for loops; MP3 loop gaps explains why. Audio Tools converts to WAV in one step if a source needs it.
Keep the sample rate
There is rarely a reason to resample before import. Unity’s Sample Rate Setting can keep the rate, optimize it based on the highest frequency in the sound, or override it, for PCM and ADPCM compression. If a set of sources should share one rate anyway, the Output section in Audio Tools resamples copies to a rate between 48000 and 11025 Hz, and can also mix them to mono.
Part 2: the import settings
Select one or more clips and set these in the Inspector. Each platform can override them.
Load type
| Kind of sound | Load type | Why |
|---|---|---|
| Short, frequent effects: footsteps, clicks, impacts | Decompress On Load | Unity recommends it for small compressed sounds, so nothing is decoded during gameplay |
| Medium sounds and dialogue | Compressed In Memory | Saves memory; decoding while playing has a slight overhead |
| Music and long ambience | Streaming | Uses minimal memory and decodes from disk as it plays |
Unity’s documentation notes that decompressing Vorbis on load uses about ten times the memory of the compressed data, and ADPCM about three and a half times, so do not use Decompress On Load for long files.
Compression format
- PCM: full quality, largest size. Good for very short sounds where quality matters.
- ADPCM: smaller, with some noise that hides in noisy sounds such as footsteps, impacts and weapons.
- Vorbis: the most compact, with a quality slider. The usual choice for music, ambience and longer effects.
Channels
Force To Mono mixes a stereo clip down to one channel and then peak-normalizes it. Use it for positional 3D sounds, which Unity places with its spatializer anyway, and keep stereo for music and 2D ambience.
Preloading
Preload Audio Data loads the clip with the scene. Leave it on for sounds that must play instantly; turn it off for rarely used clips and load them with AudioClip.LoadAudioData when they are needed. Load In Background loads clips without blocking the main thread.
The whole checklist
- Trim leading and trailing silence.
- Fade every hand-made cut by a few milliseconds.
- Set peaks with headroom, and match loudness within sound groups.
- Crossfade the loop point of every loop.
- Use WAV or AIFF sources, especially for loops.
- Keep the source sample rate; let Unity optimize it if needed.
- Pick the load type by length and frequency of use.
- Pick the compression format by kind of sound.
- Force mono for positional sounds.
- Preload what must play instantly.
Steps 1 to 5 are where Audio Tools helps, for a whole folder at once and without leaving the Editor.
Frequently asked questions
Does Unity prefer WAV or MP3?
Unity re-encodes every file on import, so the build does not depend on the source format. WAV is the better source because it is lossless and loops cleanly. Use MP3 sources only when size in the repository matters more than loops.
Which load type should I use for sound effects?
Short, frequent sounds usually use Decompress On Load, which Unity recommends for small compressed sounds. Longer sounds can stay Compressed In Memory, and music and long ambience usually use Streaming.
Should 3D sounds be mono?
Usually. A positional sound is placed by Unity's spatializer, so a stereo source adds memory without adding much. Force To Mono halves the samples of a stereo clip.
Which compression format should I choose?
PCM keeps full quality at the largest size, ADPCM is smaller and suits short, noisy sounds such as footsteps and impacts, and Vorbis is the most compact for music and longer sounds, with a quality slider.
Trim, fade and normalize audio without leaving Unity.
Keep reading
 Article
Why sound effects play late in Unity
A late sound has one of a handful of causes, and the most common one sits in the file, not in Unity's settings. Check them in this order: silence in the file, the output device, the DSP buffer, loading, decoding and timing in code. Use case
Trim audio clips in Unity without leaving the Editor
Unity cannot trim an audio file on its own. Open the clip in Audio Tools, select the part you need on the waveform, loop it, and save a numbered WAV copy next to the original.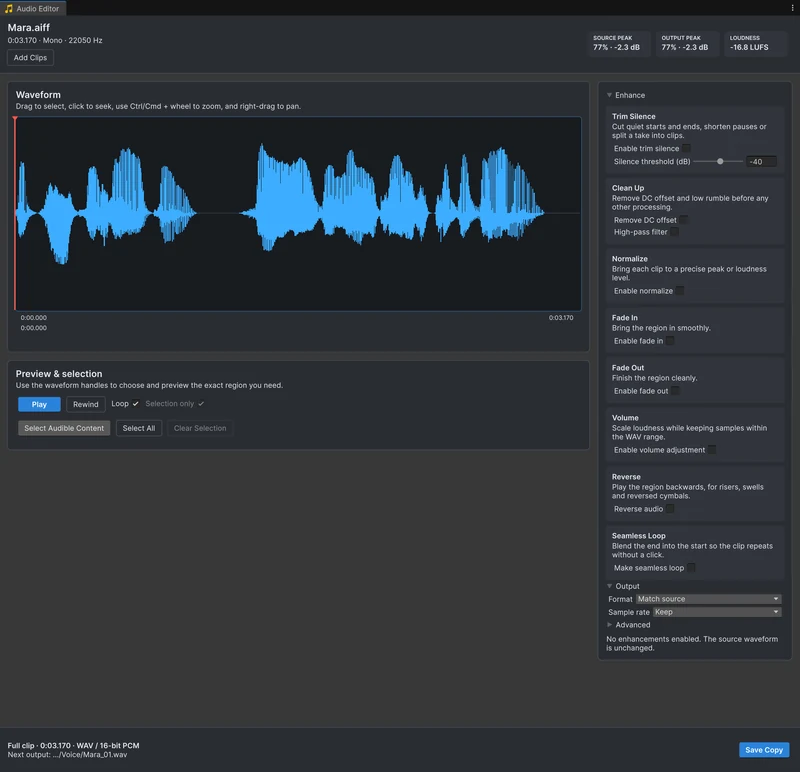 Use case