Trim audio clips in Unity without leaving the Editor
Trim an audio clip inside the Unity Editor: select the part you need on the waveform, check it in a loop and save a WAV copy without leaving Unity.
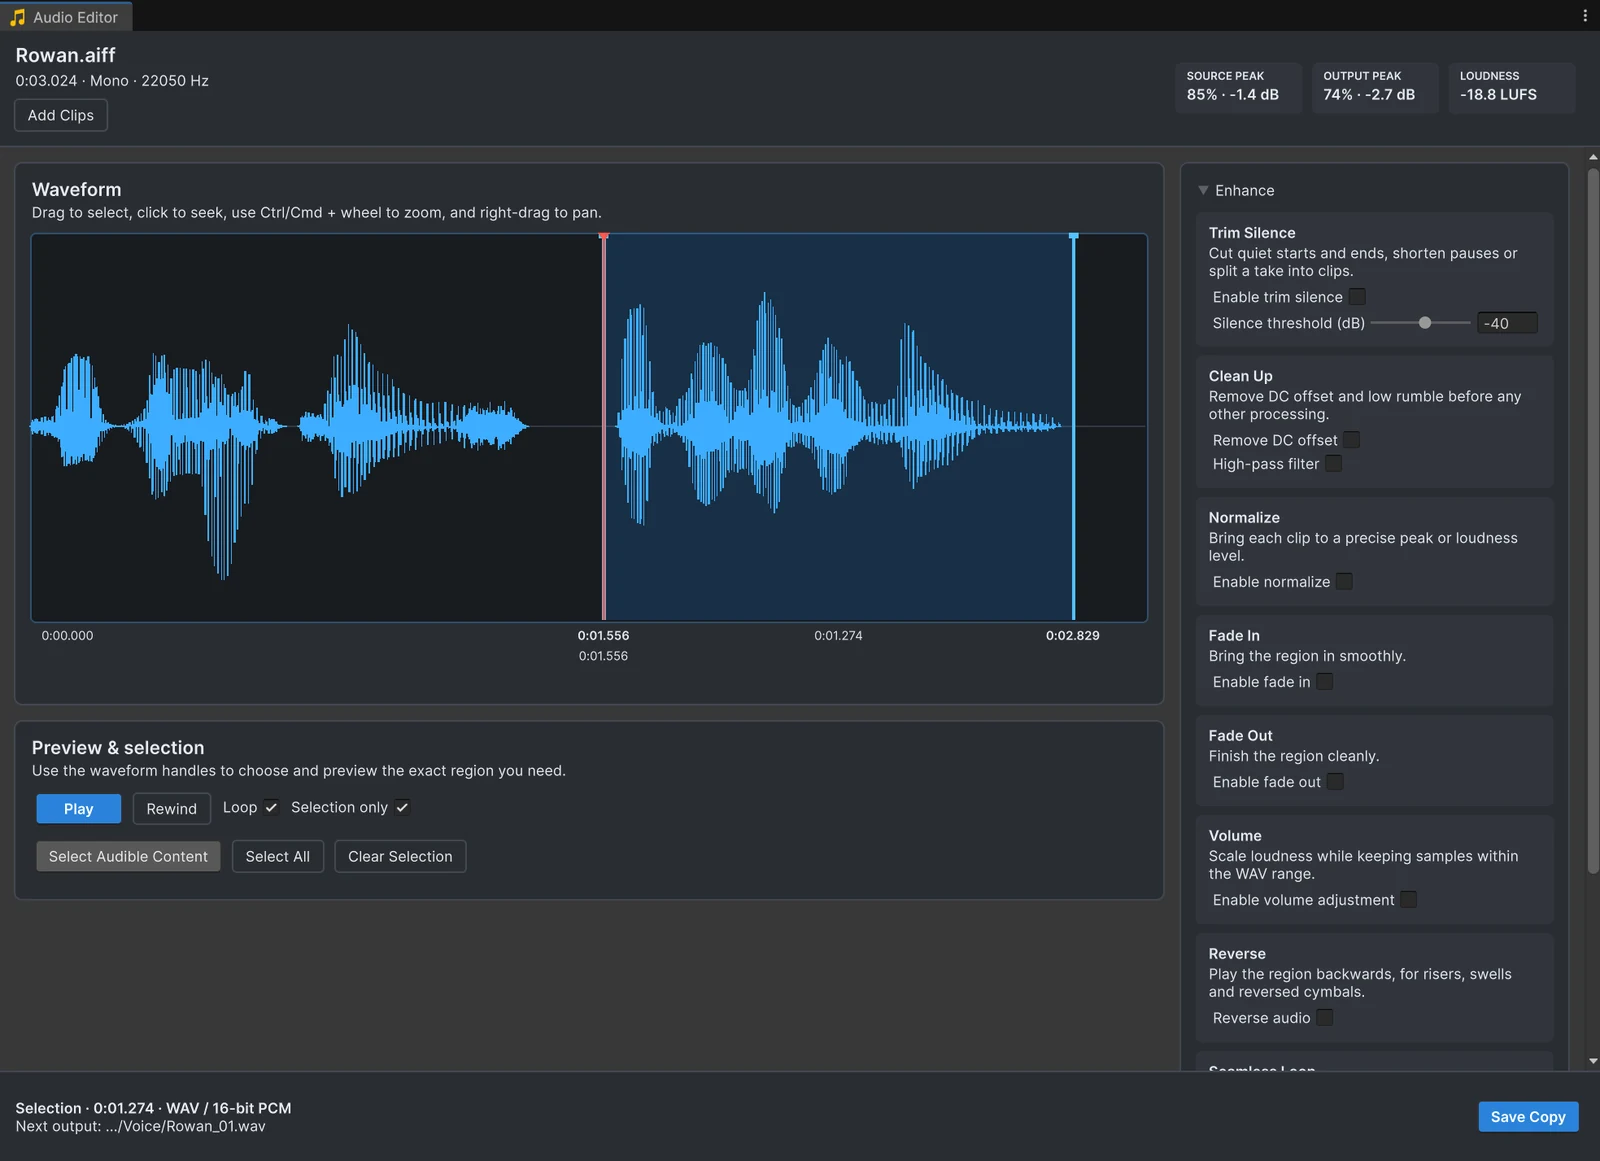
Unity imports audio files, but it cannot cut them. The answers in old forum threads are an online MP3 cutter, a round trip through Audacity, or a line of code that skips the first tenth of a second. Each works, and each takes you out of what you were doing. Audio Tools lets you trim the clip where it already is, in the Editor.
Open the clip
- Right-click an audio file in the Project window and choose Edit Audio.
- Or open Tools > Audio Tools > Audio Editor and drag a file onto it, pick an AudioClip, or use Browse File… for a file outside the project.
The header shows the file name, duration, channel count and sample rate, plus the peak level of the source and of the output you are about to save.
Select the part you need
Drag across the waveform to create a selection. Drag its handles to resize it, or drag inside it to move it. Click to move the playhead without selecting, and click outside the selection to clear it. The exact start, end and duration stay visible below the waveform while you drag.
For fine work, zoom in up to 32 times with Ctrl or Cmd and the mouse wheel; the zoom centers on the pointer. Right-drag pans without changing the selection, and the wheel on its own scrolls through the clip. The keyboard covers the rest:
- Space plays or pauses, Escape clears the selection.
- Home and End jump to the start and end, Ctrl/Cmd + A selects the whole clip.
- Left and Right move the playhead. Hold Alt (Option) to move one sample at a time, or Shift for bigger steps.
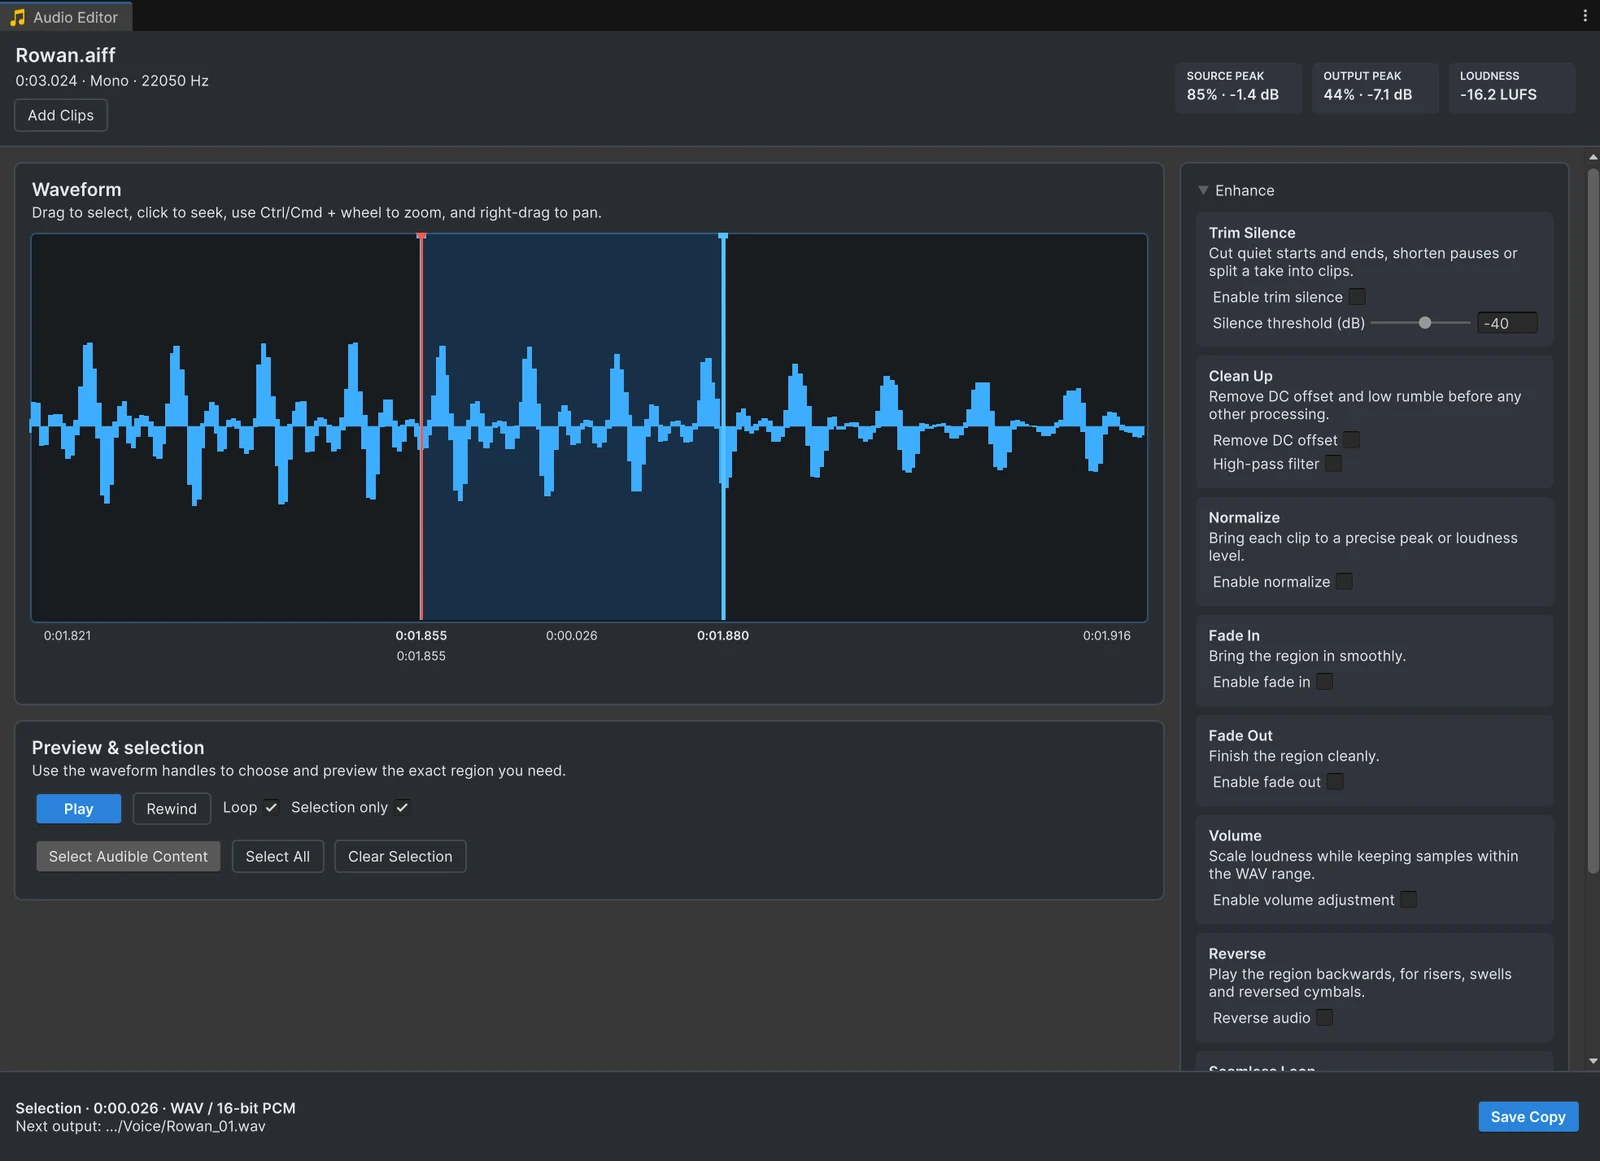 Zoomed in 32 times on one word, with a 26 ms selection. Alt with the arrow keys moves the playhead one sample per press.
Listen before you save
Turn on Selection only to hear just the selected range, and Loop to repeat it while you adjust the handles. Turn Selection only off to hear the edit in the context of the whole clip. Nothing is written while you listen: every preview is built from the original samples.
Save the result
The selected range is always what gets saved, even when Selection only is off for playback. Clear the selection to save the full clip.
- Save Copy writes a new WAV next to a clip in your project. The first copy of
footstep.wavisfootstep_01.wav, the nextfootstep_02.wav, and the line at the bottom of the editor always shows the next output path. - For a file from outside the project, Import WAV saves the result into your project, and Save As WAV… writes it wherever you choose.
- Replace Original WAV overwrites a WAV that is already in the project. It asks for confirmation and keeps a backup, and Restore Replaced Files under Advanced puts the original back.
The Output section decides the format of the new file: Match source by default, or 16-bit PCM, 24-bit PCM or 32-bit float, plus the channels and sample rate. Copies of project assets keep the original’s import settings. Changes to the edit settings themselves, such as the selection and enabled effects, work with Unity’s Undo and Redo, and they survive script recompiles while you work.
When you do not need to edit the file
Sometimes the file can stay as it is. In a Timeline, an audio clip’s Clip In value skips the start, and trimming its end in the Timeline only affects playback there. In code, you can start playback at an offset:
// Start playback 0.25 seconds into the clip without editing the file.AudioSource source = GetComponent<AudioSource>();source.timeSamples = Mathf.RoundToInt(0.25f * source.clip.frequency);source.Play();Unity’s documentation notes that AudioSource.time can be imprecise with compressed clips, so timeSamples is the safer property. This is fine when one script owns the sound. Once the same clip plays from an animation event, a UI button, a Timeline and a sound manager, editing the file is simpler: every caller gets the trimmed version. The comparison of Unity’s built-in options goes through each approach.
Trim sounds before they enter your project
If the sound you need is inside an Asset Store package, you do not have to import the whole pack to trim one file. Asset Inventory includes Audio Tools and opens any indexed sound in the same editor before import, so only the part you keep ends up in your project. See trimming Asset Store sounds before import.
Frequently asked questions
Can Unity trim an audio clip without a plugin?
Not the file itself. The import settings have no trim option. Timeline can skip the start of a clip and end it early during playback, and a script can start playback at an offset, but the file stays unchanged.
Does trimming change my original file?
No. Save Copy writes a new WAV next to the original, numbered _01, _02 and so on. Replacing is a separate action for WAV files in your project: it asks for confirmation and keeps a backup that Restore Replaced Files under Advanced puts back.
How precise is the selection?
As precise as your zoom. Zoom in up to 32 times with Ctrl or Cmd and the mouse wheel to place the handles, and read the exact start, end and duration below the waveform. Alt (Option on macOS) with the arrow keys moves the playhead one sample at a time.
Which formats can I trim?
Any format Unity loads, including WAV, MP3, OGG, AIFF and supported FLAC files. The trimmed result is saved as a WAV in 16-bit PCM, 24-bit PCM or 32-bit float, matching the source by default.
Trim, fade and normalize audio without leaving Unity.
Keep reading
 Use case
Remove the silence that makes sounds play late
Many sound files start with a few hundred milliseconds of silence, and in a game that reads as lag. The Trim Silence card cuts it at the start and end, shortens long pauses inside a clip, and works on a whole folder in one pass.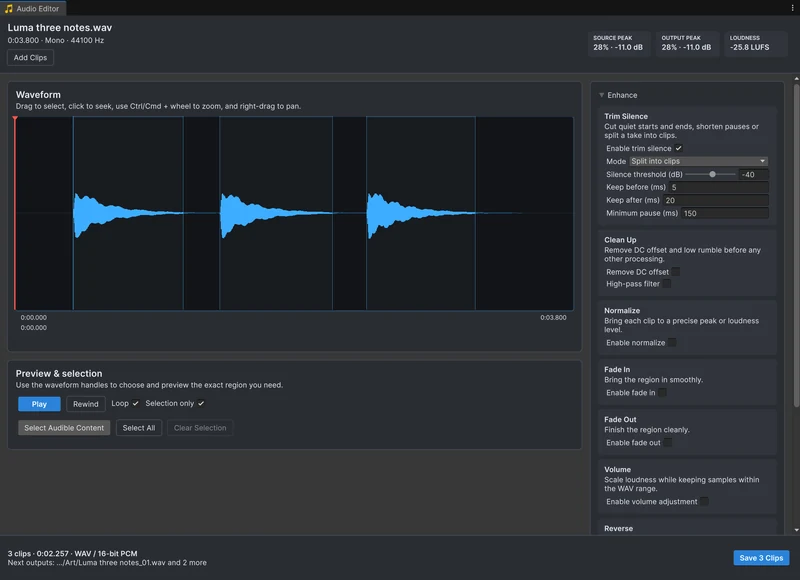 Use case