Typewriter and text effects for Ink stories in Unity
Show Ink story lines in Unity with typewriter timing, effects and choices: Text Studio presents each line while Ink keeps story state, choices and save data.
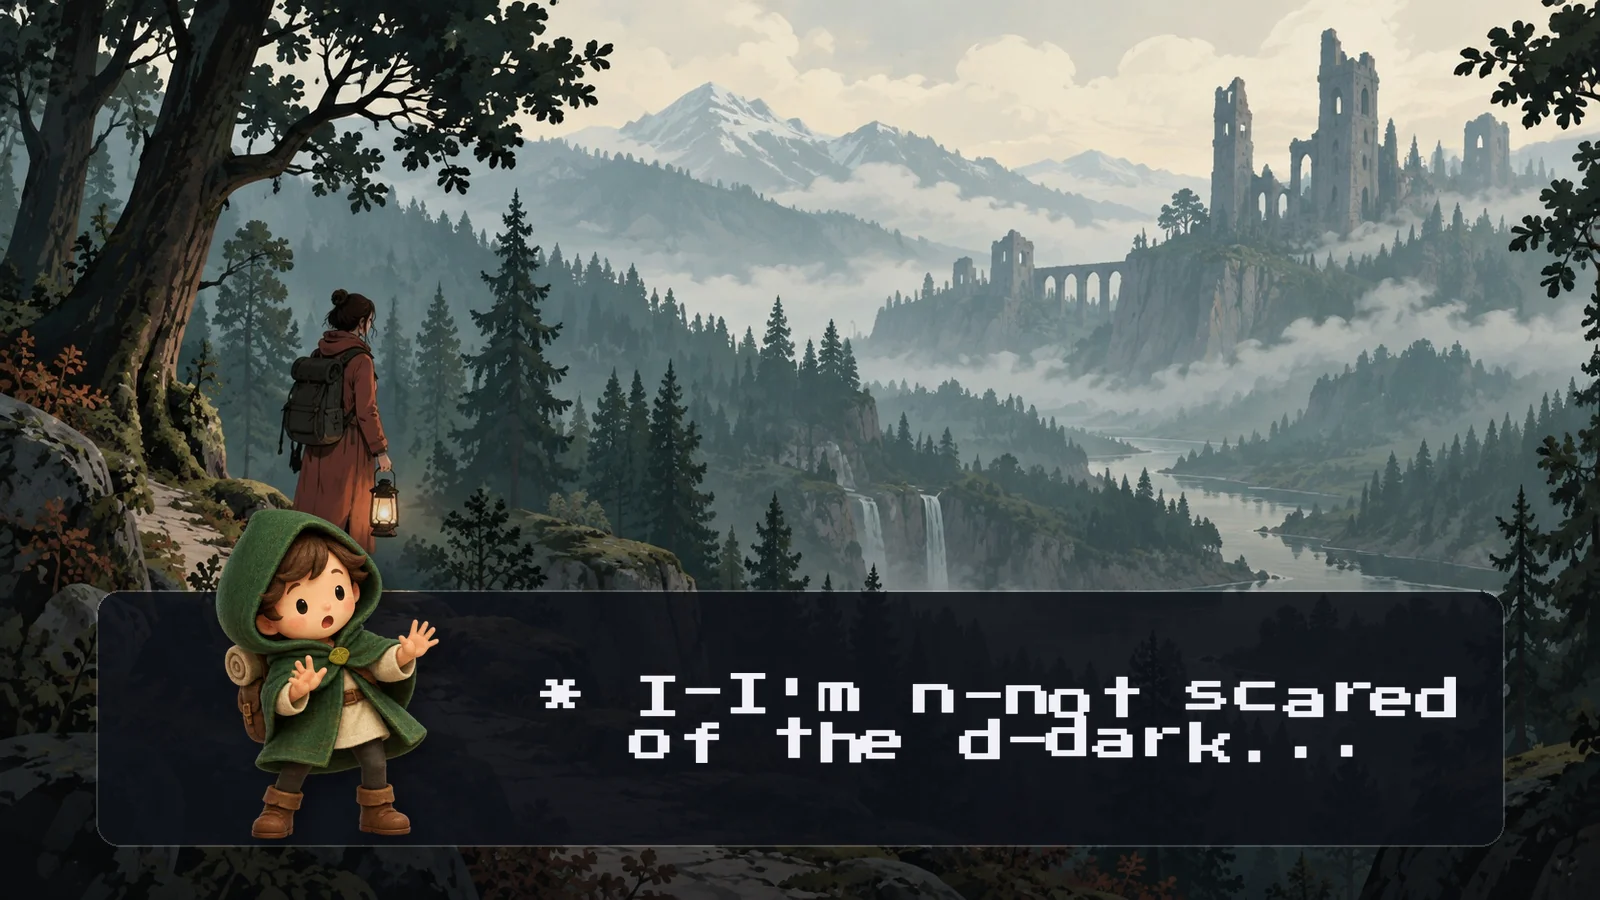
Ink is a joy to write branching stories in. The Unity runtime, though, hands you plain strings and a list of choices. Showing a line letter by letter, adding a pause or a shaking word, waiting for the player and building choice buttons is still code you write yourself, and it grows with every feature the story needs.
Text Studio’s Ink integration closes that gap with one component. TextStudioInkStoryBridge runs your compiled story, sends each line through Text Studio, and gives you the choices when Ink offers them.
What the bridge does
- Starts and continues the story, and skips empty lines unless you turn Skip Empty Lines off.
- Shows each line through
TextStudioDialogueSource, so the line gets Text Studio’s typewriter, effects, markers and sounds. - Passes Ink tags through On Tag Seen, so metadata such as
# speaker:travelercan drive a portrait, a camera or a highlight. - Exposes the current choices with their text, index and tags, and selects one with
ChooseChoiceAt(index). - Saves and restores Ink story state as JSON.
Ink keeps everything narrative: variables, knots, stitches, diverts, choices, tags as metadata and the serialized story position. Text Studio owns the line on screen: markup, reveal, effects and presentation.
Set it up
- Install the Ink Unity Integration and Text Studio. The integration was tested with Ink Unity Integration 1.1.8.
- Open Tools > Text Studio > Integrations and press Import Integration on the Ink card. Importing activates the integration; no scripting define is needed.
- Select your dialogue text object and press Configure Selected on the Ink card. It adds and connects
TextStudioText,TextStudioDialogueSourceandTextStudioInkStoryBridge. - Assign your compiled Ink JSON to Compiled Story Json, then enable Play On Start or call
StartStory()from code.LoadStoryJson(json)loads a story from a string instead. - Bind your continue input to
AdvanceOrSkip()and your choice buttons toChooseChoiceAt(index).
Wiring the buttons takes a few lines:
public TextStudioInkStoryBridge bridge;
public void OnContinuePressed() => bridge.AdvanceOrSkip();public void OnChoicePressed(int index) => bridge.ChooseChoiceAt(index);
The bridge also raises On Line Shown, On Choices Changed and On Story Complete, so UI can react without polling.
Write effects in Ink lines
Text Studio tags sit directly in your .ink text, next to Ink’s own syntax:
The lantern <wave>flickers</wave> as the water rises. # speaker:travelerTake the <color=teal>river path</color>?* [Follow the river] The current carries the light toward the old bridge. # route:riverInk treats # as tag syntax inside story text, so write colors by name, such as <color=teal>, rather than as hex codes. Everything else, from effect tags to waits and speed changes, follows the normal Text Studio markup. If most lines should look the same, a profile with a typewriter preset and default effects saves you from tagging every line.
 Markers inside a line can fire events for choices, speakers or cameras at the exact letter they sit on.
Continue, skip and choices
AdvanceOrSkip follows the order players expect. The first press completes the current wait or reveal. Once the line is complete, the next press continues the story. When Ink presents choices, the press only completes the reveal and leaves the decision to the player. For save games, SaveStateJson() returns Ink’s state, and LoadStateJson(json, continueStory) restores it.
Pacing, punctuation pauses and skip behavior come from the typewriter preset on the text. See build reveals and typewriter experiences for the options.
The Ink Choices sample
Press Open Sample on the Ink card to open Ink Choices.unity and enter Play Mode. Continue reveals the question, then the native Ink choices appear. Follow the river or climb the ridge to reveal the consequence and the arrival line, and Restart Story to return to the choice. The .ink source and the compiled JSON sit together in the sample’s Story folder, and inline route:river and route:ridge tags drive a decorative route highlight without touching story state.
Limits worth knowing
- The integration was tested with Ink Unity Integration 1.1.8.
- You build the choice buttons. The bridge exposes the choices and selects them, but leaves layout and styling to your UI.
- Avoid hex color codes in raw
.inktext because of Ink’s#tags. - The bridge does not replace the Ink compiler or editor; author and compile stories as usual.
Febucci’s documentation also includes an Ink guide for Text Animator. Text Studio’s bridge adds typed choices, tag events and save state on top of the line presentation; the comparison covers the wider differences. The Ink section of the manual lists the validation checklist.
Frequently asked questions
Does Text Studio replace the Ink runtime or compiler?
No. Ink and the Ink Unity Integration keep compiling and running the story: variables, knots, stitches, diverts, choices and story position. The Text Studio bridge only presents the current line and hands choices back to Ink.
How do I show Ink choices?
The bridge exposes CurrentChoices, a ChoicesChanged event and an On Choices Changed UnityEvent. Build your own buttons and bind each one to ChooseChoiceAt(index). While a choice is pending, AdvanceOrSkip completes the reveal but does not continue the story.
Can I save and load story progress?
Yes. SaveStateJson returns Ink's story state as JSON, and LoadStateJson restores it, optionally continuing the story right away.
Why does a hex color tag break my Ink line?
Ink treats the hash character as the start of a tag, so a color written as a hex code turns into Ink metadata. Use named colors such as <color=teal> in raw .ink source instead.
Style and animate every word in Unity.
Keep reading
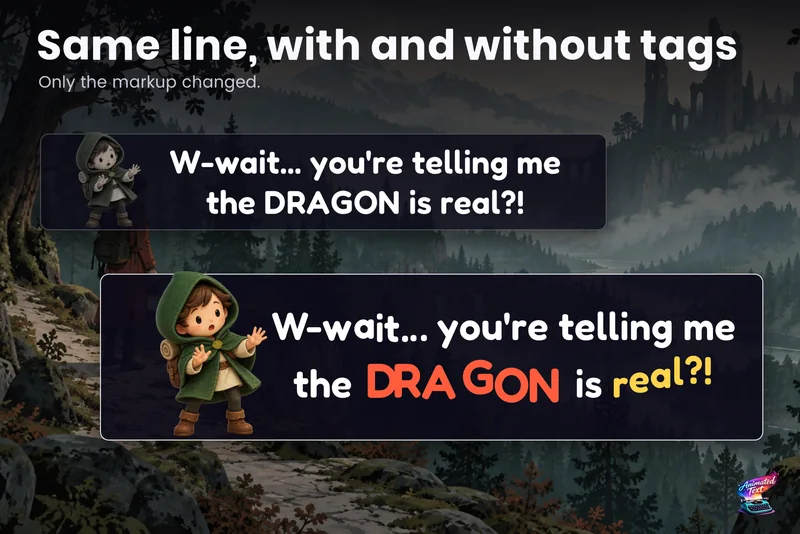 Use case
Dialogue text with typewriter, voice blips and emotion
Make a line sound nervous, excited or broken with a few tags, give each character a typing voice, and keep continue, skip, portraits and cameras in sync with the reveal.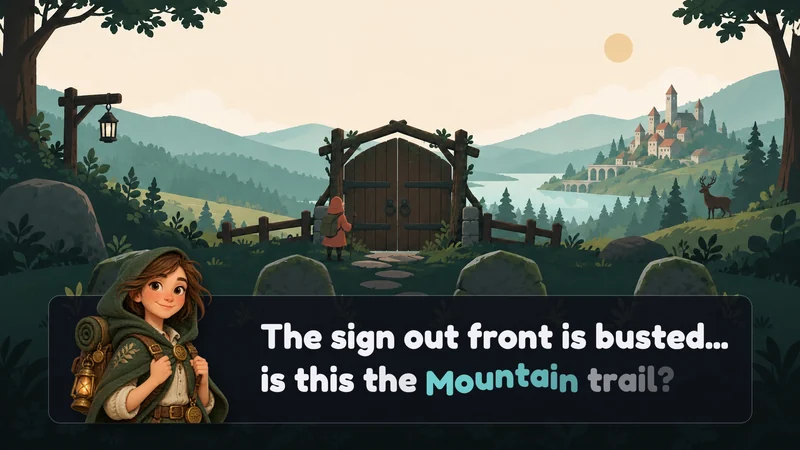 Use case
Text effects for Yarn Spinner dialogue
Text Studio plugs into Yarn Spinner's standard LinePresenter as its typewriter and markup processor. Write [wave] or [shake] in your Yarn lines; Yarn keeps the story, options, fades and line advancing.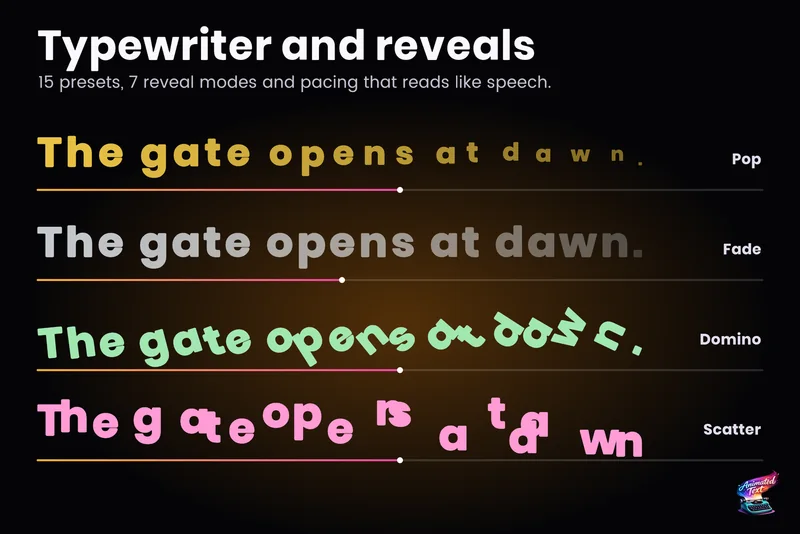 Use case