Advanced Features
Expert Functions
Many more seldom used and advanced features are initially hidden to not clutter the UI. They can be made visible by holding down the CTRL key or pressing the eye icon in the upper toolbar.
Normal View | Holding CTRL Key |
|
|
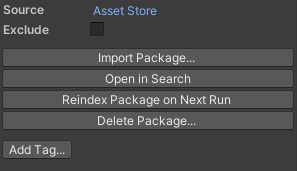
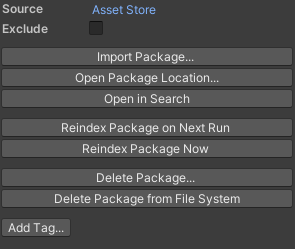
Expert function visibility will not only apply to buttons but also to additional information which is not often needed. This ensures the UI is clean for the 90% use-case while also catering to experts on-demand. There are two ways to influence the visibility of the advanced UI:
- Temporarily toggle it on via the eye icon in the upper toolbar or permanently via a setting in the Advanced section on the settings tab.
- Customize what should be considered “advanced” (see next section).
UI Customization
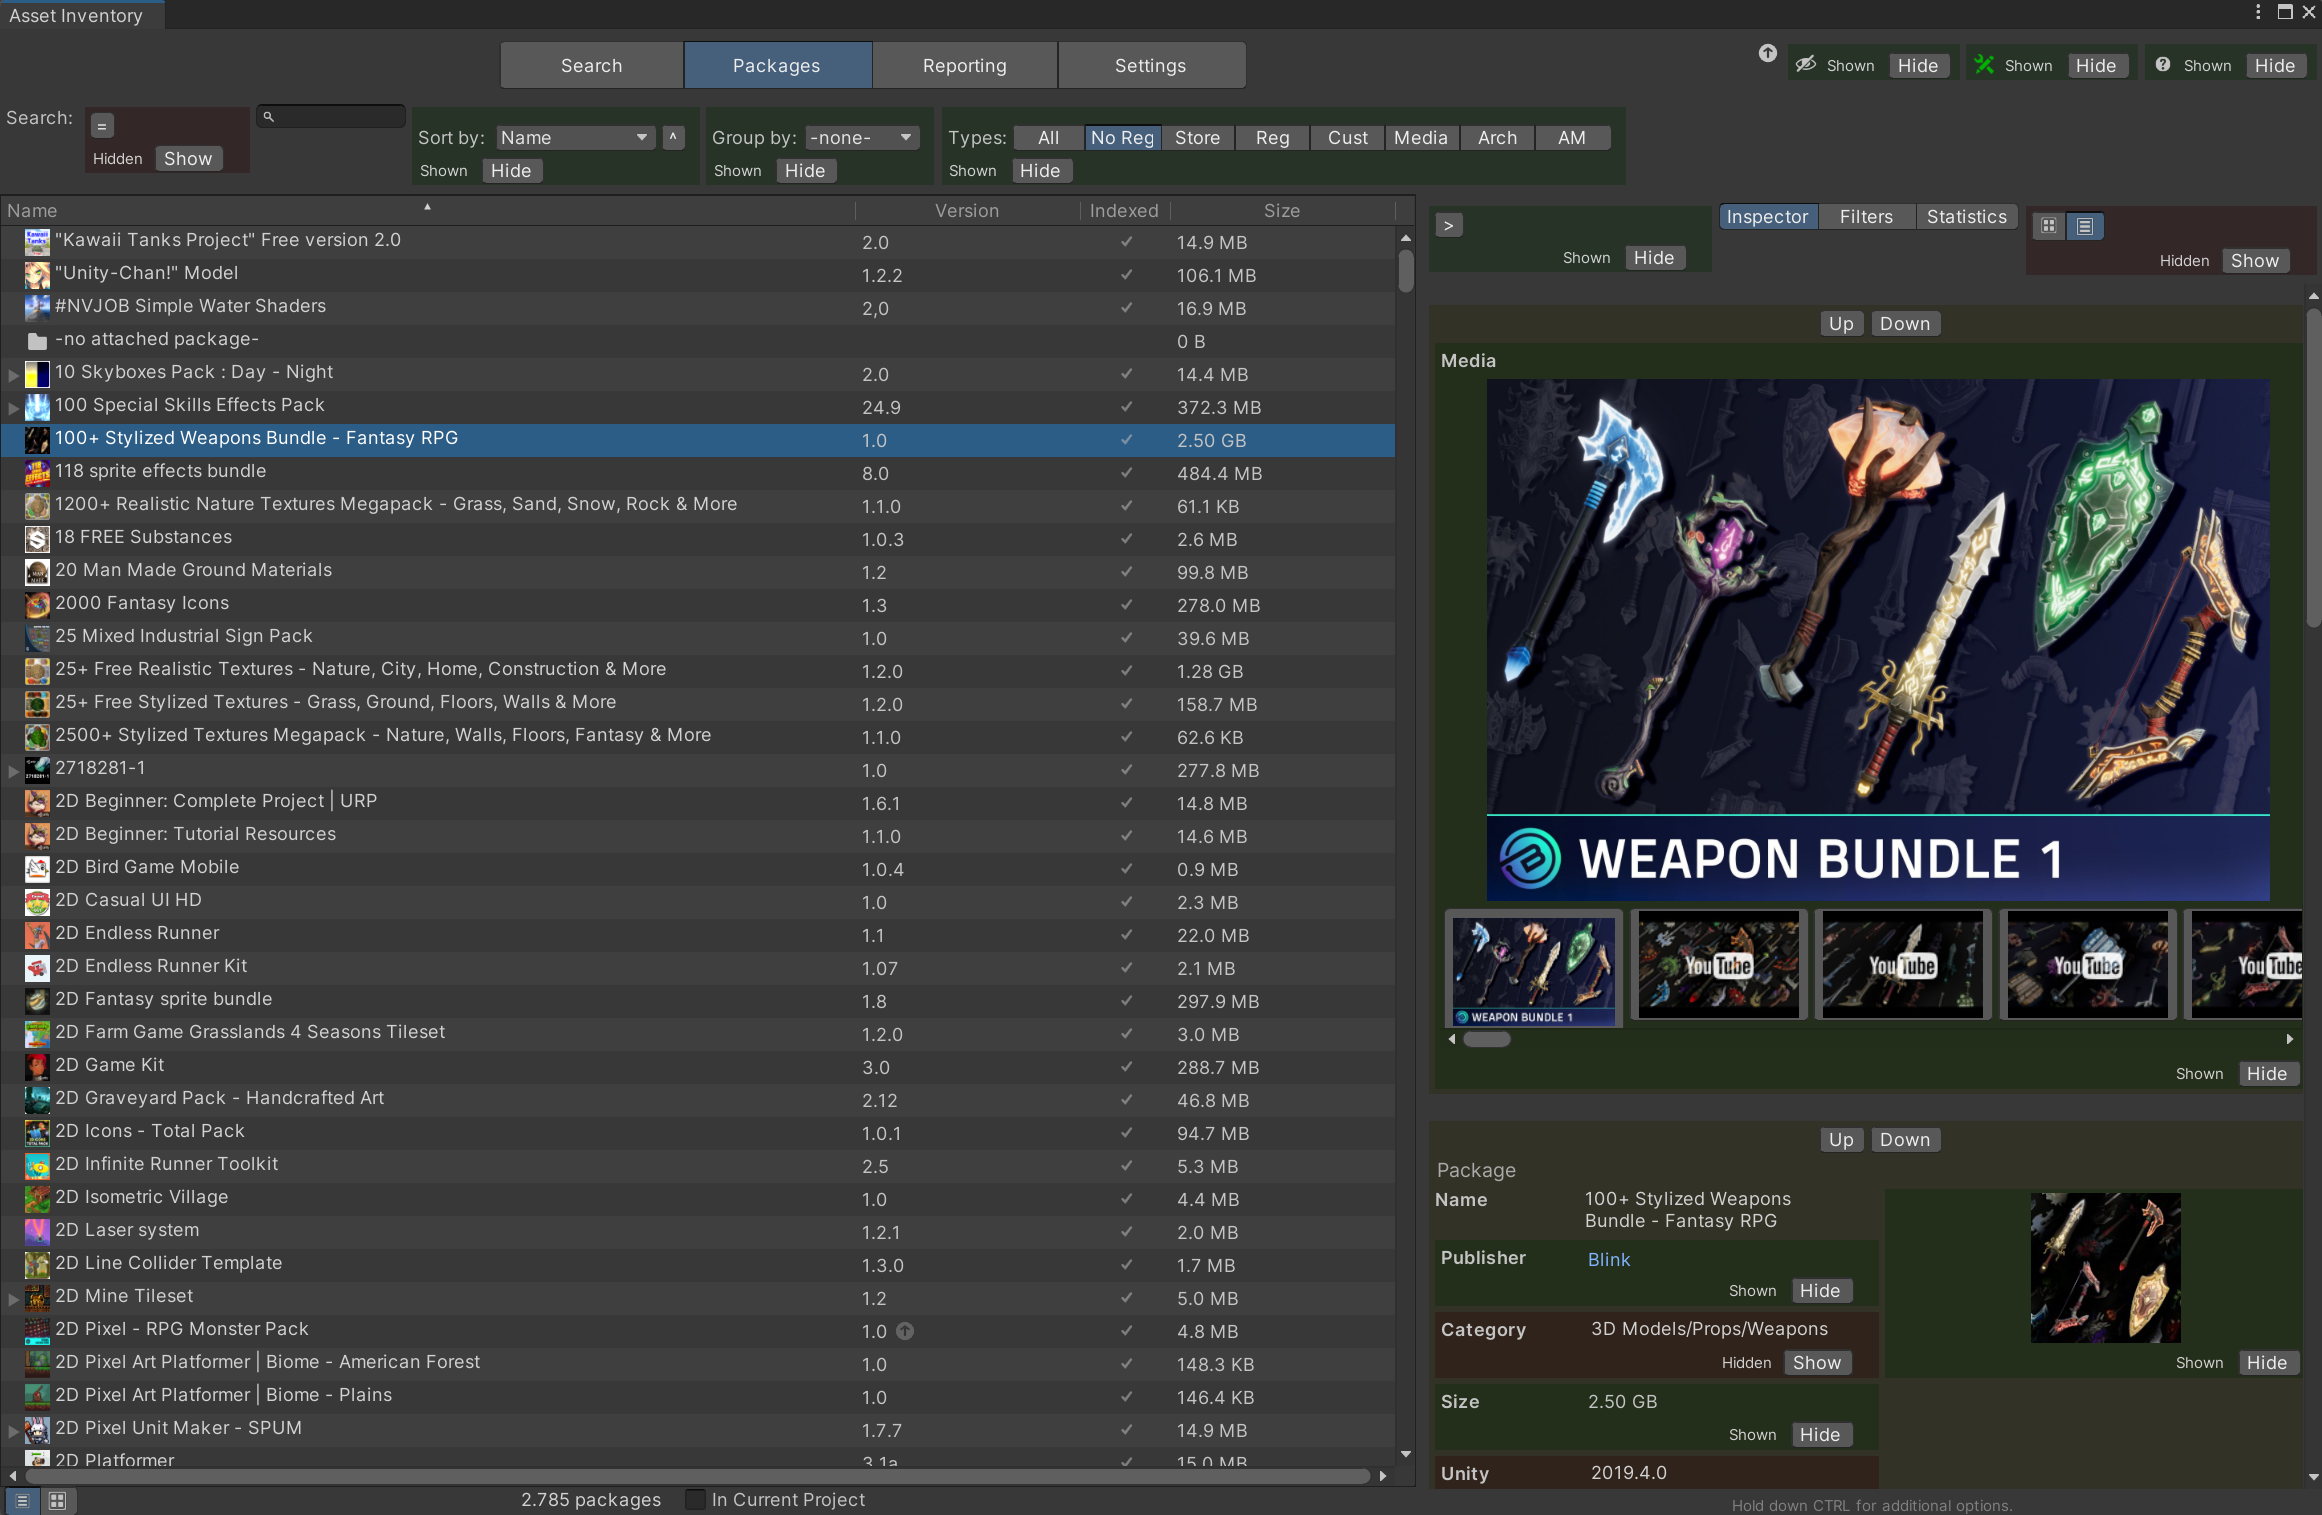
Using the customization icon in the upper toolbar, the UI can be switched to design-mode (and back). When active, sections (labels, buttons, info boxes, panels…) that can be customized will be highlighted in green, red and yellow and additional actions will be visible. Green sections will always be shown. Red sections will be considered advanced and only shown when advanced UI is toggled. Yellow blocks can be moved up and down as a whole.
During design-mode, all advanced UI will automatically be shown. Depending on the current selection and context, not all UI elements will be visible (e.g. registry packages will show different actions than Asset Store packages).
Unity Search
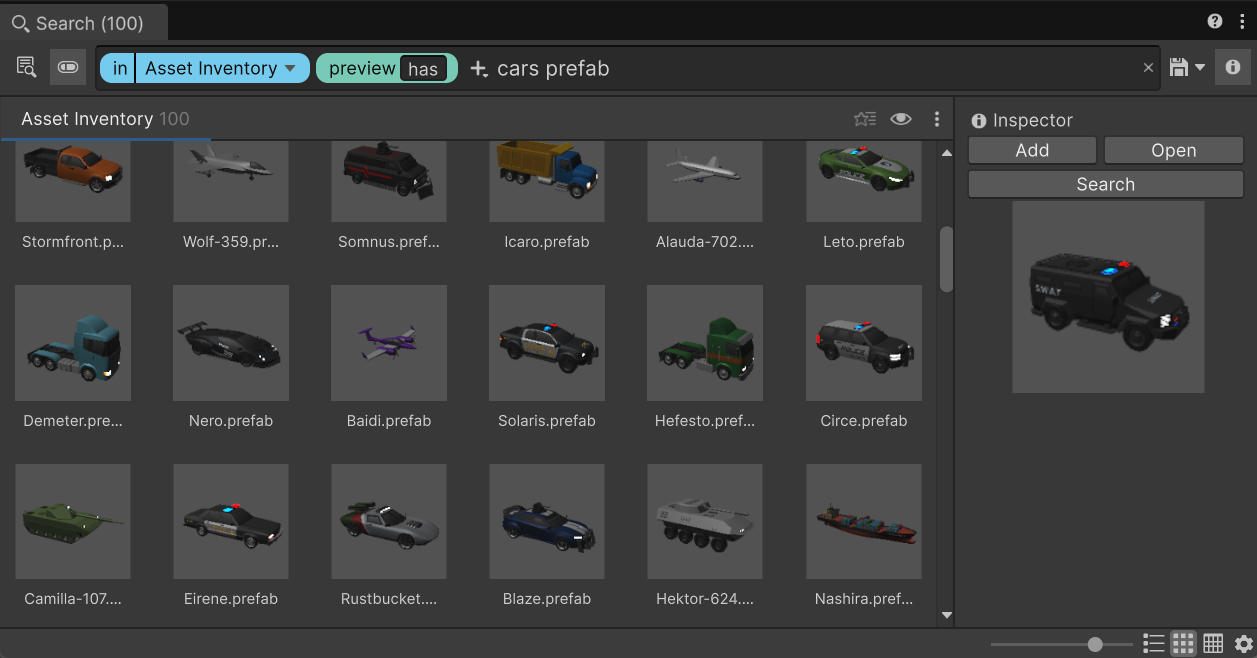
The tool natively integrates into the Unity search. Press CTRL+K to call up the search window. The provider is called Asset Inventory (“assetinv:”). Available actions include importing & adding the selected item to the current scene, opening the main search window or opening the file in the system.
Grid views and list views are fully supported. In grid view you can add a multitude of additional columns.
Automation & API
The tool can be controlled via scripting. This happens through the static methods of the AI.cs class and through a dedicated search API. The existence of the tool can be detected via the automatically added script define ASSET_INVENTORY.
To use the powerful search UI features (through the ResultPickerUI), the following code can be used (it is also provided in the Examples folder). Optionally a search type and a search string can be supplied to narrow down the search.
Two modes are available: close upon selecting a result tile or explicitly using the Select button. Once the user selects something, a callback with the path of the asset inside the project will be invoked. The asset will automatically be materialized.
The ResultPickerUI offers multiple methods:
Show()
will return the path of the selected asset inside the current project.
ShowTextureSelection()
Will default to “Images” as search type and return a dictionary of files. The selected entry will be inside “original”. The tool will do a heuristic analysis of additional adjacent files that belong to the same texture, like normal maps, metal maps etc. If found, they will also be materialized and returned.