Build a Style Layer by Layer
Each layer is one readable design decision. Duplicate a useful layer before experimenting, use Solo to inspect it temporarily, and keep the permanent Enabled state for the result you want to ship.
- Contour: input glyphs, text bounds, custom shapes, outline strokes, and boolean programs.
- Front: flat, chiseled, or inflated relief with independent refinement.
- Edge: front bevel, back bevel, counter bevel, and bevel side selection.
- Body: depth, sweep path, solid or hollow shell, and inner wall treatment.
- Back: independent cap, relief, and refinement.
- Deformation: taper, twist, bulge, and ordered deformer stacks.
- Decoration: trim, grooves, beads, lips, contour tubes, and repeats.
- Surface: semantic material regions and texture mapping.
- Placement: layer stacking, XY offset, and Z offset.
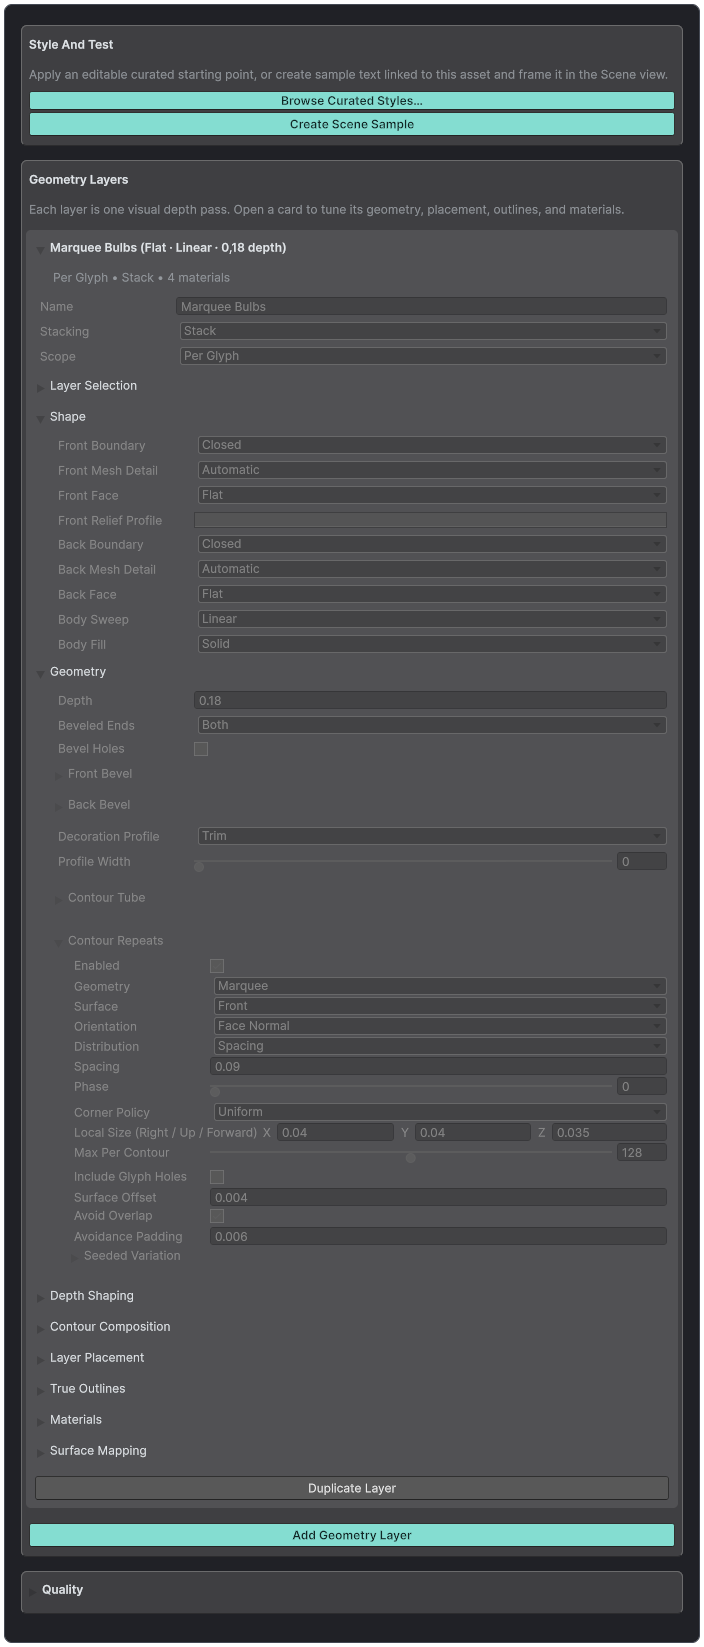
A 3D Style exposes layers progressively and keeps common actions close to the current layer.
The nine layer specifications
Each TextStudio3DLayer exposes nine orthogonal specifications. Contour chooses the input shape and scope. Front and Back own their caps and relief. Edge owns bevels. Body owns extrusion and shells. Deformation owns taper, twist, and bulge. Decoration owns trim, tubes, and repeats. Surface owns materials and mapping. Placement owns Stack or Overlay and offsets.
- Enabled removes the layer from compilation and rendering while preserving every authored value.
- Solo is preview-only and does not become a runtime mode.
- Duplicate before experimenting with topology-heavy changes.
- Reorder only after checking depth chains, stroke inheritance, and material fallbacks.
Layer order walkthrough
- Start with one readable foreground layer and verify the front face, bevel, body, and material.
- Duplicate it for an outline or backing, change Contour expansion or scope, then place it behind with Stack.
- Use Overlay when a new layer should begin at the front plane rather than continue the depth chain.
- Solo each layer and inspect wireframe, normals, material regions, contour direction, and bounds.
- Re-enable the complete stack and check seams from the front, side, back, and a moving perspective view.